The Golden Rule: Why Uniform Wall Thickness is Key to Quality Parts
Oct 2025
You've designed a part with a beautiful, flat, Class-A exterior surface. You've applied the correct draft angles. Yet, when the first parts come out of the machine, you see ugly indentations and the whole thing is slightly twisted.
What went wrong? The likely culprit is violating the golden rule of part design: maintaining a uniform wall thickness.
Plastic is not a static material. As it cools in the mold from a molten state, it shrinks. The core principle to understand is that thicker sections of plastic cool slower and shrink more than thinner sections. This differential shrinkage is the root cause of two of the most common cosmetic defects: sink marks and warping.
The Enemy: Sink Marks and Warping
Sink Marks:
A sink mark is a small depression or dimple on the surface of a part. It occurs when a thick section (like the base of a mounting boss or a support rib) is designed opposite a flat, cosmetic wall. As the thick internal section cools and shrinks, it pulls the still-soft material on the outer surface inward, creating the sink mark.
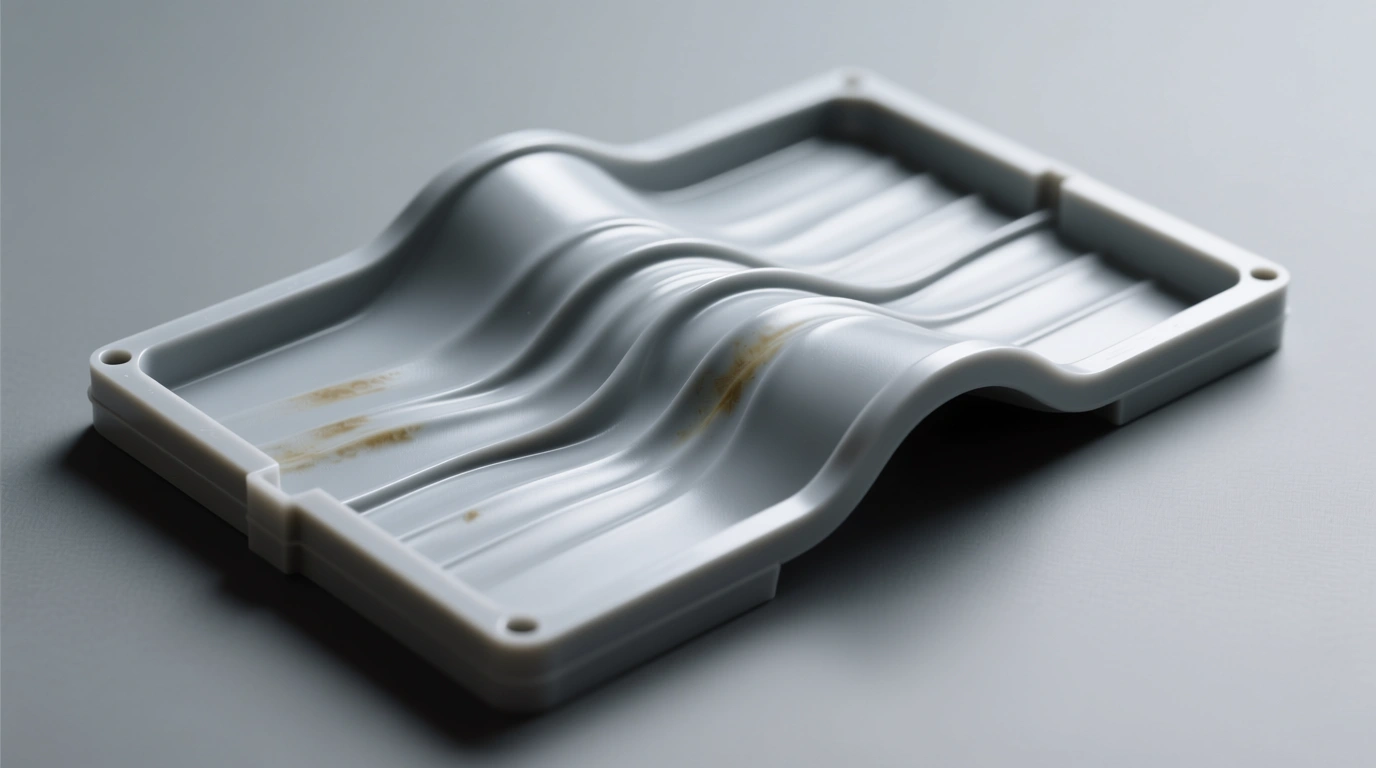
Warping:
Warping happens when different areas of a part cool and shrink at drastically different rates. This creates internal stresses that physically pull and twist the part out of its intended shape as it's ejected from the mold. A part that was perfectly flat in your CAD model can come out looking like a potato chip.
The Solution: Consistent Wall Thickness
The best way to ensure your part cools and shrinks uniformly is to design it with a consistent wall thickness throughout. In CAD software, this is often achieved with the “Shell” command, which hollows out a solid model to a specified thickness.
When you need to add internal strengthening features, you don't make the wall thicker. Instead, you design thin ribs and bosses that provide the necessary structure without creating a large mass of plastic that will cause sink. We have a dedicated article on designing those features correctly.
What's Next?
You know your part needs to be hollowed out and have consistent walls. But what about adding features like clips or holes that seem to break the rules? In our next article, we explore how to do it correctly: Designing for Complexity: An Engineer's Guide to Undercuts.
Getting your design ready for production can feel complex. Our team in Johor Bahru lives and breathes this process every day. If you want to ensure your design is optimized for manufacturing from the start, reach out to us. We're here to help.
Get Free Quote
Contact us today to learn more about our services and how we can help you with your next project.