An Introduction to the Mold Tool: The Heart of Injection Molding
Oct 2025
If the injection molding machine is the engine, the mold tool is the heart of the operation.
It's not just two blocks of steel; it's a piece of precision capital equipment, custom-engineered and built to produce your specific part hundreds of thousands, or even millions, of times.
Understanding the basic anatomy of a mold is essential for appreciating why design details matter so much and why tooling represents the most significant upfront investment in your project. A typical production mold is made up of several key systems working in harmony.
The Two Halves: The A-Side and B-Side
Every standard mold is comprised of two halves that meet at what's called the parting line.
The A-Side (Cavity Side): This is typically the “show” side of your part—the exterior cosmetic surface. It's mounted on the fixed half of the molding machine, and it's where the nozzle injects plastic into the sprue.
The B-Side (Core Side): This is where the magic happens. The B-side is mounted on the moving half of the machine and usually forms the interior, functional geometry of your part (think ribs, bosses, and snaps). As plastic cools, it shrinks and grips tightly onto the B-side core, which is why this half contains the ejection system.
The Ejection System: Getting the Part Out
Once the part has solidified and the mold opens, it needs to be removed from the B-side core. This is the job of the ejection system. The most common method uses a series of hardened steel ejector pins.
After the mold opens, these pins push forward, applying a uniform force to push the part off the core, allowing it to fall into a collection bin or be removed by a robotic arm. These pins will leave small, circular witness marks on your final part. As with gates, a key part of the design process is ensuring these ejector pin marks are located on non-critical, interior surfaces.
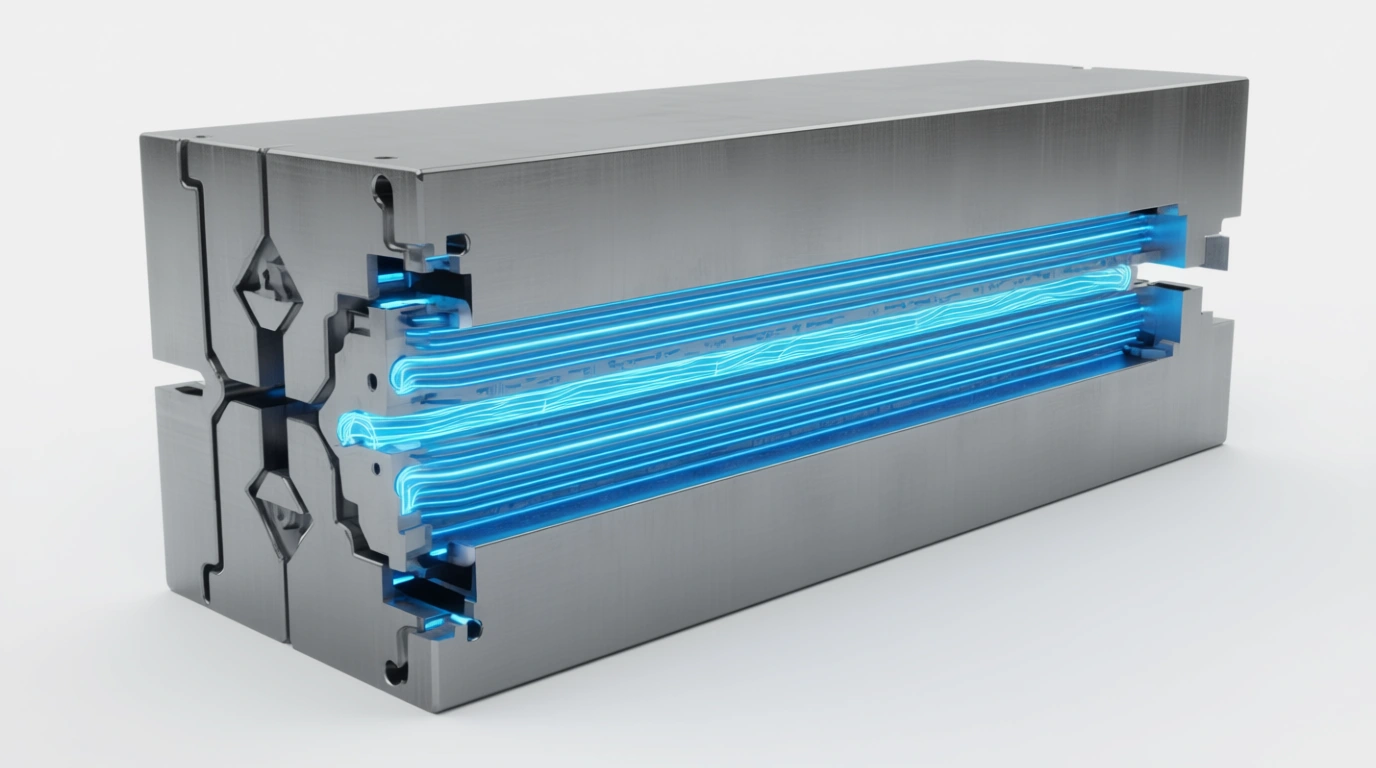
The Cooling System: The Key to Efficiency and Quality
Injecting 200°C plastic into a steel tool generates a tremendous amount of heat. Removing that heat efficiently is arguably one of the most important functions of a mold. If a tool runs too hot, parts can warp, and the cycle time (the time it takes to make one part) gets longer, driving up your unit cost.
To manage this, every production mold has a network of cooling channels drilled through the steel blocks of both the A and B sides. Water or a specialized thermal fluid is continuously circulated through these channels to maintain a consistent operating temperature, ensuring parts cool evenly and quickly.
Putting It All Together
These systems—the two halves, the ejection mechanism, and the cooling network—all work together in a rapid, precise cycle. The quality and expense of this tool are directly tied to the complexity of your part. Features that prevent the part from being easily ejected, which we call undercuts, often require additional complex mechanisms that add to the cost.
What's Next?
Now that you understand the basic anatomy of a mold, we can begin to discuss the specific design principles you must incorporate into your part to ensure it works flawlessly with the tool. In our next guide, we tackle the most fundamental rule of all: What is Draft Angle and Why is it Critical for Your Part?
Getting your design ready for production can feel complex. Our team in Johor Bahru lives and breathes this process every day. If you want to ensure your design is optimized for manufacturing from the start, reach out to us. We're here to help.
Get Free Quote
Contact us today to learn more about our services and how we can help you with your next project.